WINDOWS LICENSING & STARTING THE UPGRADE
WINDOWS PRODUCT KEY
| PART 1 - UPGRADING YOUR OLD PC PART 2 - MEMORY AND STORAGE PART 3 - PROCESSOR AND INTERNET PART 4 - PERIPHERALS PART 5 - LICENSING & STARTING PART 6 - INSTALLING WINDOWS 10 PART 7 - CLEANING UP |
Let's discuss the Windows Product Key. This is a 24-digit unique identifier that licenses your copy of Windows and allows it to be activated. Assume that your old computer is either Windows 7, 8 or 8.1 and you want to upgrade it to Windows 10 running on a solid state drive. Microsoft will allow you to upgrade your Windows 7, 8 or 8.1 computer to 10 for free, but if you just go ahead and remove your old hard drive and replace it with the new SSD, then when you install Windows 10 it'll demand a valid Product key (license). On Microsoft's web site Windows 10 Home license costs $139 and Windows 10 Pro costs $200. (I'm hearing about Microsoft cutting these prices in half during the pandemic but can't find specifics, please email me if your have any info) Here's how we'll upgrade to Windows 10 for free AND swap a new SSD in place of your old rotational hard drive, all for no license cost, just a little extra work.

We are going to run the Microsoft upgrader and upgrade your existing Windows 7, 8 or 8.1 computer to Windows 10.Once it's upgraded, Microsoft will create a digital license for the hardware that is locked to the "signature" of the unique combination of your computer's hardware. Then we will remove your old hard drive and replace it with a new solid state drive. We'll use the Windows 10 thumb drive installer that you're going to create below to install Windows 10 onto the computer again. When it's installed, Microsoft will recognize the hardware "signature" of your setup (changing the drive won't impact it) and re-apply the Windows 10 digital license it created for the computer. A bit convoluted, but, you'll wind up with a computer with a clean copy of Windows 10 installed onto an SSD and legally licensed! Well worth jumping through those additional hoops.
STEP-BY-STEP UPGRADING YOUR COMPUTER
You've done all your prep-work, you've purchased whatever parts that you need, now it's time to do the upgrade. Follow this guide.
| DISCLAIMER: IF YOU OPEN UP YOUR COMPUTER YOU NEED TO USE COMMON SENSE AS THERE ARE ELECTRICAL COMPONENTS INSIDE. DON'T OPEN THE COMPUTER IF IT'S PLUGGED IN. BE CAREFUL WHEN WORKING INSIDE IT. THE COMPUTER IS POWERED BY LOW VOLTAGE BUT THE POWER SUPPLY CONTAINS LETHAL VOLTAGE AND SHOULD NEVER BE TAMPERED WITH. I AM NOT RESPONSIBLE FOR YOUR ACTIONS OR YOUR FAILURE TO TAKE PRECAUTIONS. ADDITIONALLY I AM NOT RESPONSIBLE IF YOU MESS UP YOUR COMPUTER OR LOSE DATA. BACK UP ANY DATA ON THE COMPUTER BEFORE ATTEMPTING ANY UPGRADES IF YOU NEED THE DATA. FYI IN MORE THAN 30 YEARS OR WORKING WITH COMPUTERS I'VE NEVER HAD ANY PROBLEMS WITH ELECTRICITY INSIDE THEM, BUT I NEVER WORK INSIDE A PLUGGED-IN COMPUTER. UNPLUG AND BE SAFE! |
GET EVERYTHING ASSEMBLED
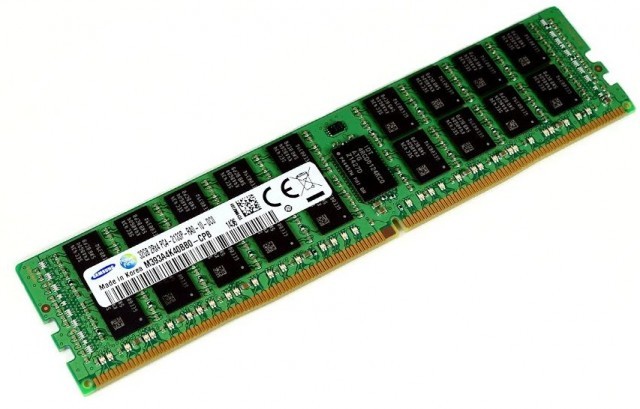
If you've purchased additional memory you should install it now. Open the side or back of the computer. If you need to remove an old memory stick that doesn't have the capacity you want (obviously with the computer turned off!).

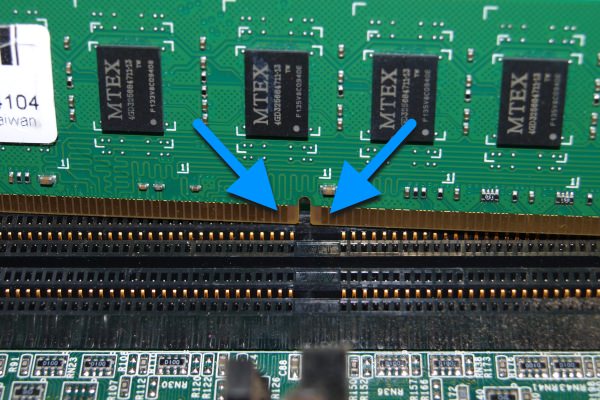
Each RAM slot on the motherboard has a plastic retention clip on ether side. You can see in the above photo, the empty slot has the clips open in the slot with the RAM the clips are in the closed position. If you need to remove a RAM chip press on the clip to open it...it'll leverage out the RAM chip on that side. Do the same on the other side and the chip  will lift out. When adding new RAM you'll note a gap in the bottom of the chip where the metallic leads are. That gap has to correspond to the
  bump in the slot on the motherboard (right). If no matter what, the chip won't fit the slot on the motherboard because the raised bump is in the way no matter which way you orient the RAM, you'd purchased the wrong kind of memory for your computer. Go back to get it's memory specs and look carefully at what you bought as it's not right. Hopefully you'll be able to exchange it for the right one.
Once the memory's installed, boot up the computer to make sure it works. You're going to need a thumb-drive Windows 10 installer, so go to the Microsoft site to make one. You'll need a 16 GB thumb drive because you want to install the option to create a 32 or 64-bit version of Windows 10. I know we're not going to create a 32-bit computer, but just do it, you'll see why later. Plug the thumb drive into the computer and click on the Download Tool Now button:

You'll of course have to accept the license. Then you tell it to "Create Installation Media (USB flash drive, DVD or ISO file)for another PC". Uncheck the "Use the recommended options for this PC" box. Let the software download and create the installation tool, then remove the thumb drive and set it aside for later.
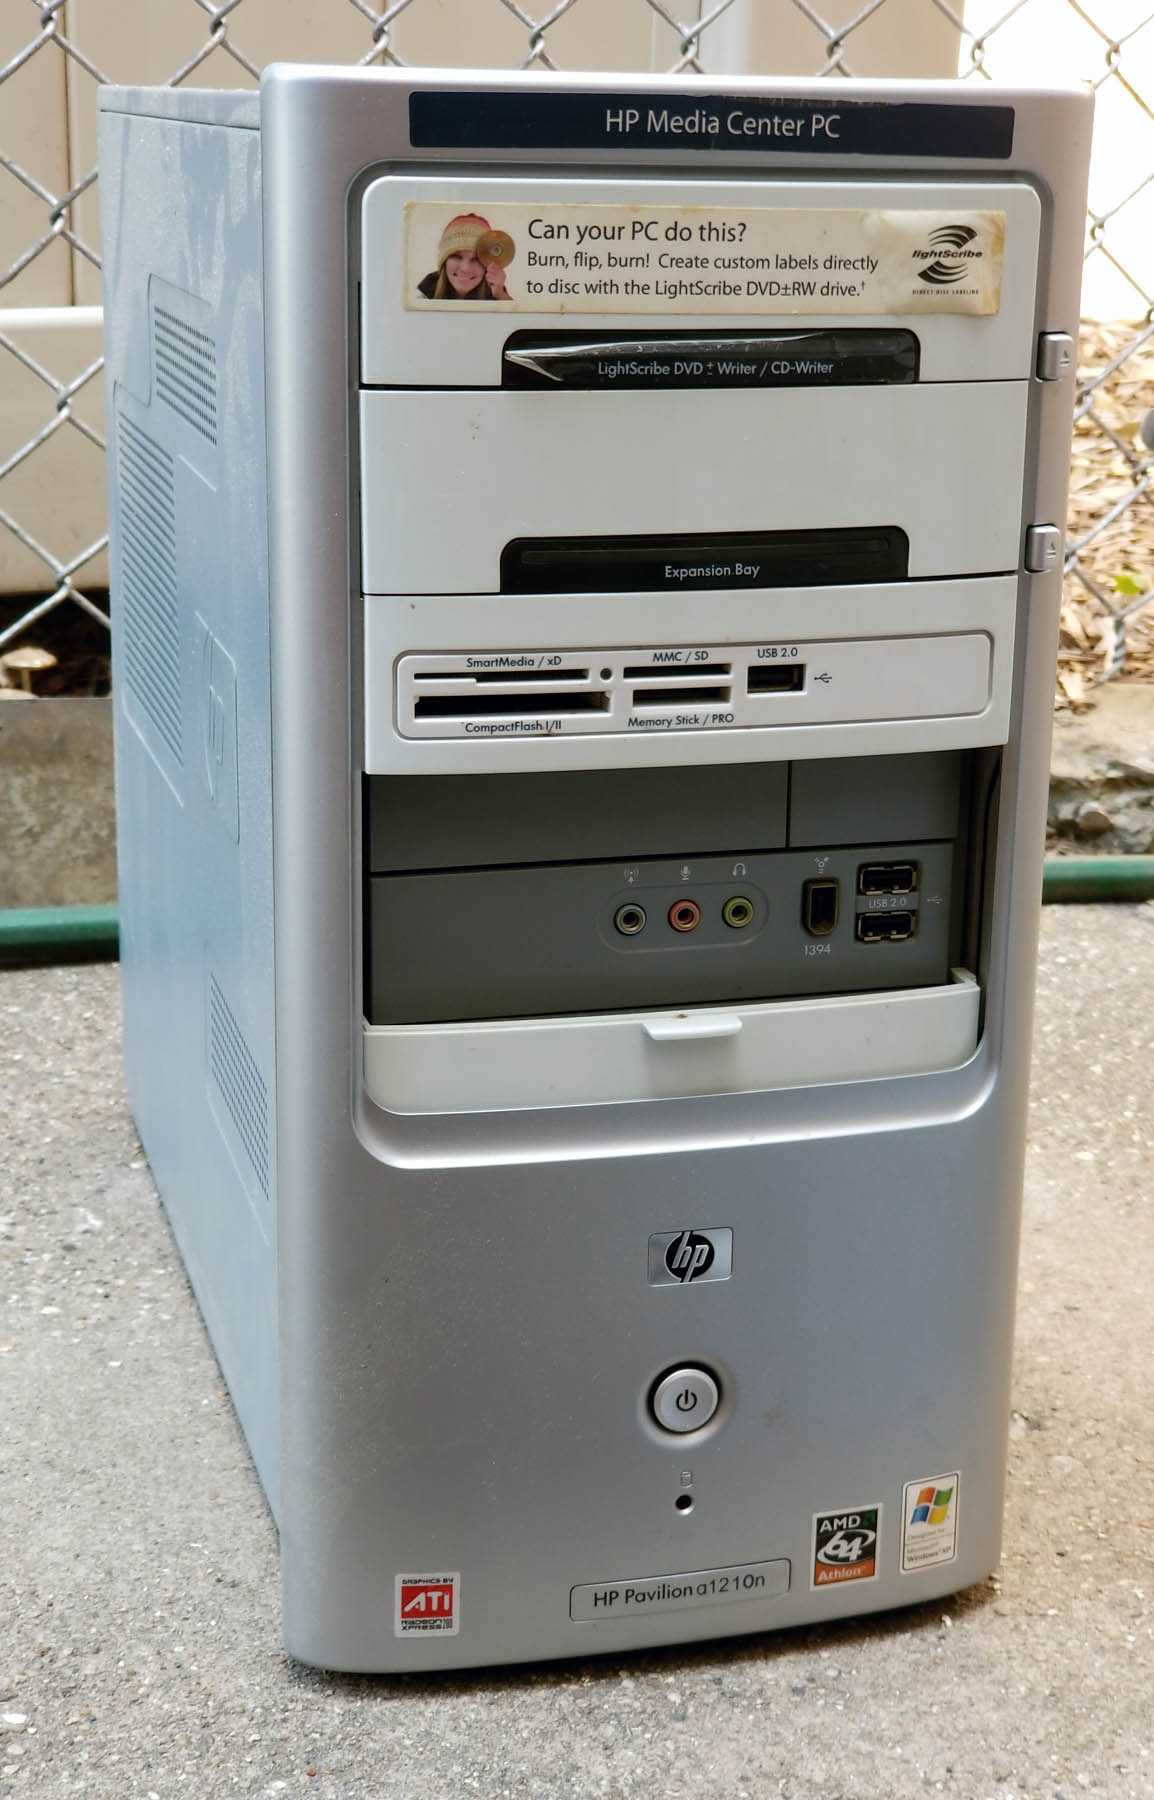
For our purposes, I went out to my garage and found a dusty old HP Pavilion A1210n "Media Center PC" I think it's a media center PC because it came with a LightScribe DVD burner. In any case, I dusted it off and cleaned it up, it was in pretty good shape. Stickers on the front proclaimed it was "Designed for Windows XP" (not encouraging) and there was an AMD-64 sticker, so  I'm hopeful it will be 64-bit capable. I looked it up, the A1210n was first introduced on August 14, 2005, so it's almost exactly 15 years old. This is a bit older than I'd suggest for an upgrade project but I'm using it because it has several features that you'll find instructive. When I opened it up to clean it, I noted that it was running off an old 3.5 IDE hard drive with a ribbon cable, not good. but then I saw that on the motherboard were two unused SATA connectors, so I'm hopeful it'll take a SATA drive.
On power-up I had to update the system time in BIOS/CMOS before it would boot. It had Windows 7 installed, probably something I did many years ago. It only has 2 GB's of RAM installed, not enough, but when I looked up the specs of this model I found that the maximum RAM it would take was 4GB's total. Normally this would be a deal breaker, but I am upgrading it just for the purposes of illustrating this article. Remember, 4 Gb's of RAM is not enough for day-to-day work in Windows 10! (or, don't do as I do, do as I say).
 When I looked at the info about this computer I saw this (right): Oh no, it's 32-bit! But is it 64-bit capable? I went to this site http://www.grc.com/securable.htm - and downloaded their free tool called SecurAble, installed and ran it. It popped up this:
That means that indeed it was 64-bit capable. But if you didn't want to use this tool you could find out from within Windows 7, just go to Control panel - All Control Panel Items - Performance and information tools. In that Window you'll see an option "View and print detailed performance and system information". It's this:

Note the line "64-bit capable yes" FYI look under the graphics section and you'll see "Display Adapter Type". Jot this down, it might be useful after the upgrade.
Interestingly HP built a computer that's 64-bit capable but sold it with a 32-bit version of Windows 7. AND their hardware will accept a SATA drive but they built it with an older IDE drive. They probably they had a lot of IDE drives in inventory, and back then 32-bit computing was fine (this model took maximum RAM of 4 GB's so a 64-bit version wouldn't have anything to take advantage of anyway).
Now that we've done our cleanup and research, hook the PC up to all of its peripherals and plug it in. Boot it up and go to the Microsoft site where the download tool was located. Download and run it. Make sure the "Use the recommended options for this PC" box is checked. And this time, instead of creating installation media, select the option "Upgrade this PC now". It will begin to download Windows 10 and start the upgrade process.
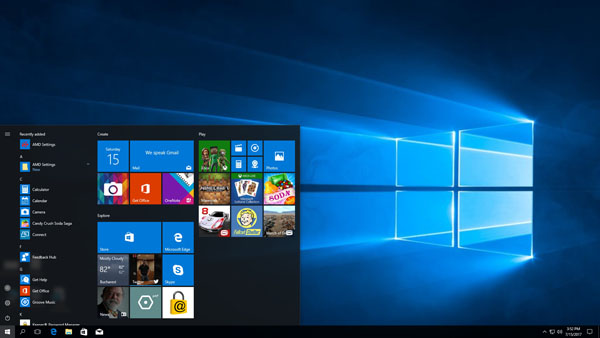
It will work through downloading and installing Windows 10 on your old PC. Finally, you're there:

You're on the home stretch and can see the finish line!
